Setup Shopify
1. Setup Shopify
Although we have provided a dummy shopify access in the .env.example file but if you want to change it with yours, you will need a shopify account and a store. you can create it for a free if you don't have it yet from here https://www.shopify.com/ . After creating your store you need to create a private app and generate Storefront Access Token from here https://shopify.dev/docs/storefront-api/getting-started#authentication .
Now provide your Store Name and Access Token In the .env.development and .env.production file in your picksy root directory with your Shopify storename (storename.myshopify.com) and access token (your token must have full permissions on Storefront API).
Below comments are just to give you idea how those variables values should be
// The domain name of your Shopify shop. This is required.// Example: 'gatsby-source-shopify-test-shop' if your Shopify address is// 'gatsby-source-shopify-test-shop.myshopify.com'.// An API access token to your Shopify shop. This is required.// You can generate an access token in the "Manage private apps" section// of your shop's Apps settings. In the Storefront API section, be sure// to select "Allow this app to access your storefront data using the// Storefront API".// See: https://help.shopify.com/api/custom-storefronts/storefront-api/getting-started#authentication
GATSBY_SHOP_NAME=graphqlGATSBY_SHOPIFY_ACCESS_TOKEN=dd4d4dc146542ba7763305d71d1b3d38
After generating your token and setting them in the .env files you can import our products to get idea about which data we are using. you can find the exported products.csv in the shopify-products folder.
your Shopify store is pretty much setup for now. Check your cart, checkout, currency setup and do some test orders before proceeding to the next steps.
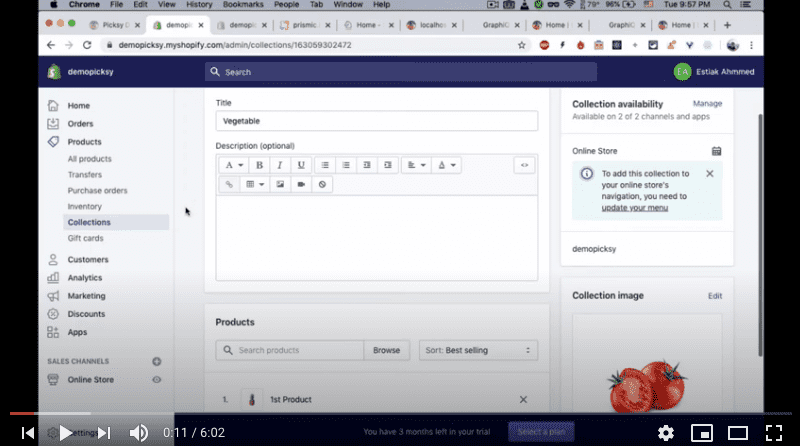
How To Setup Shopify for Picksy
This video was already part of getting started under installation section but for relevance giving it here also

